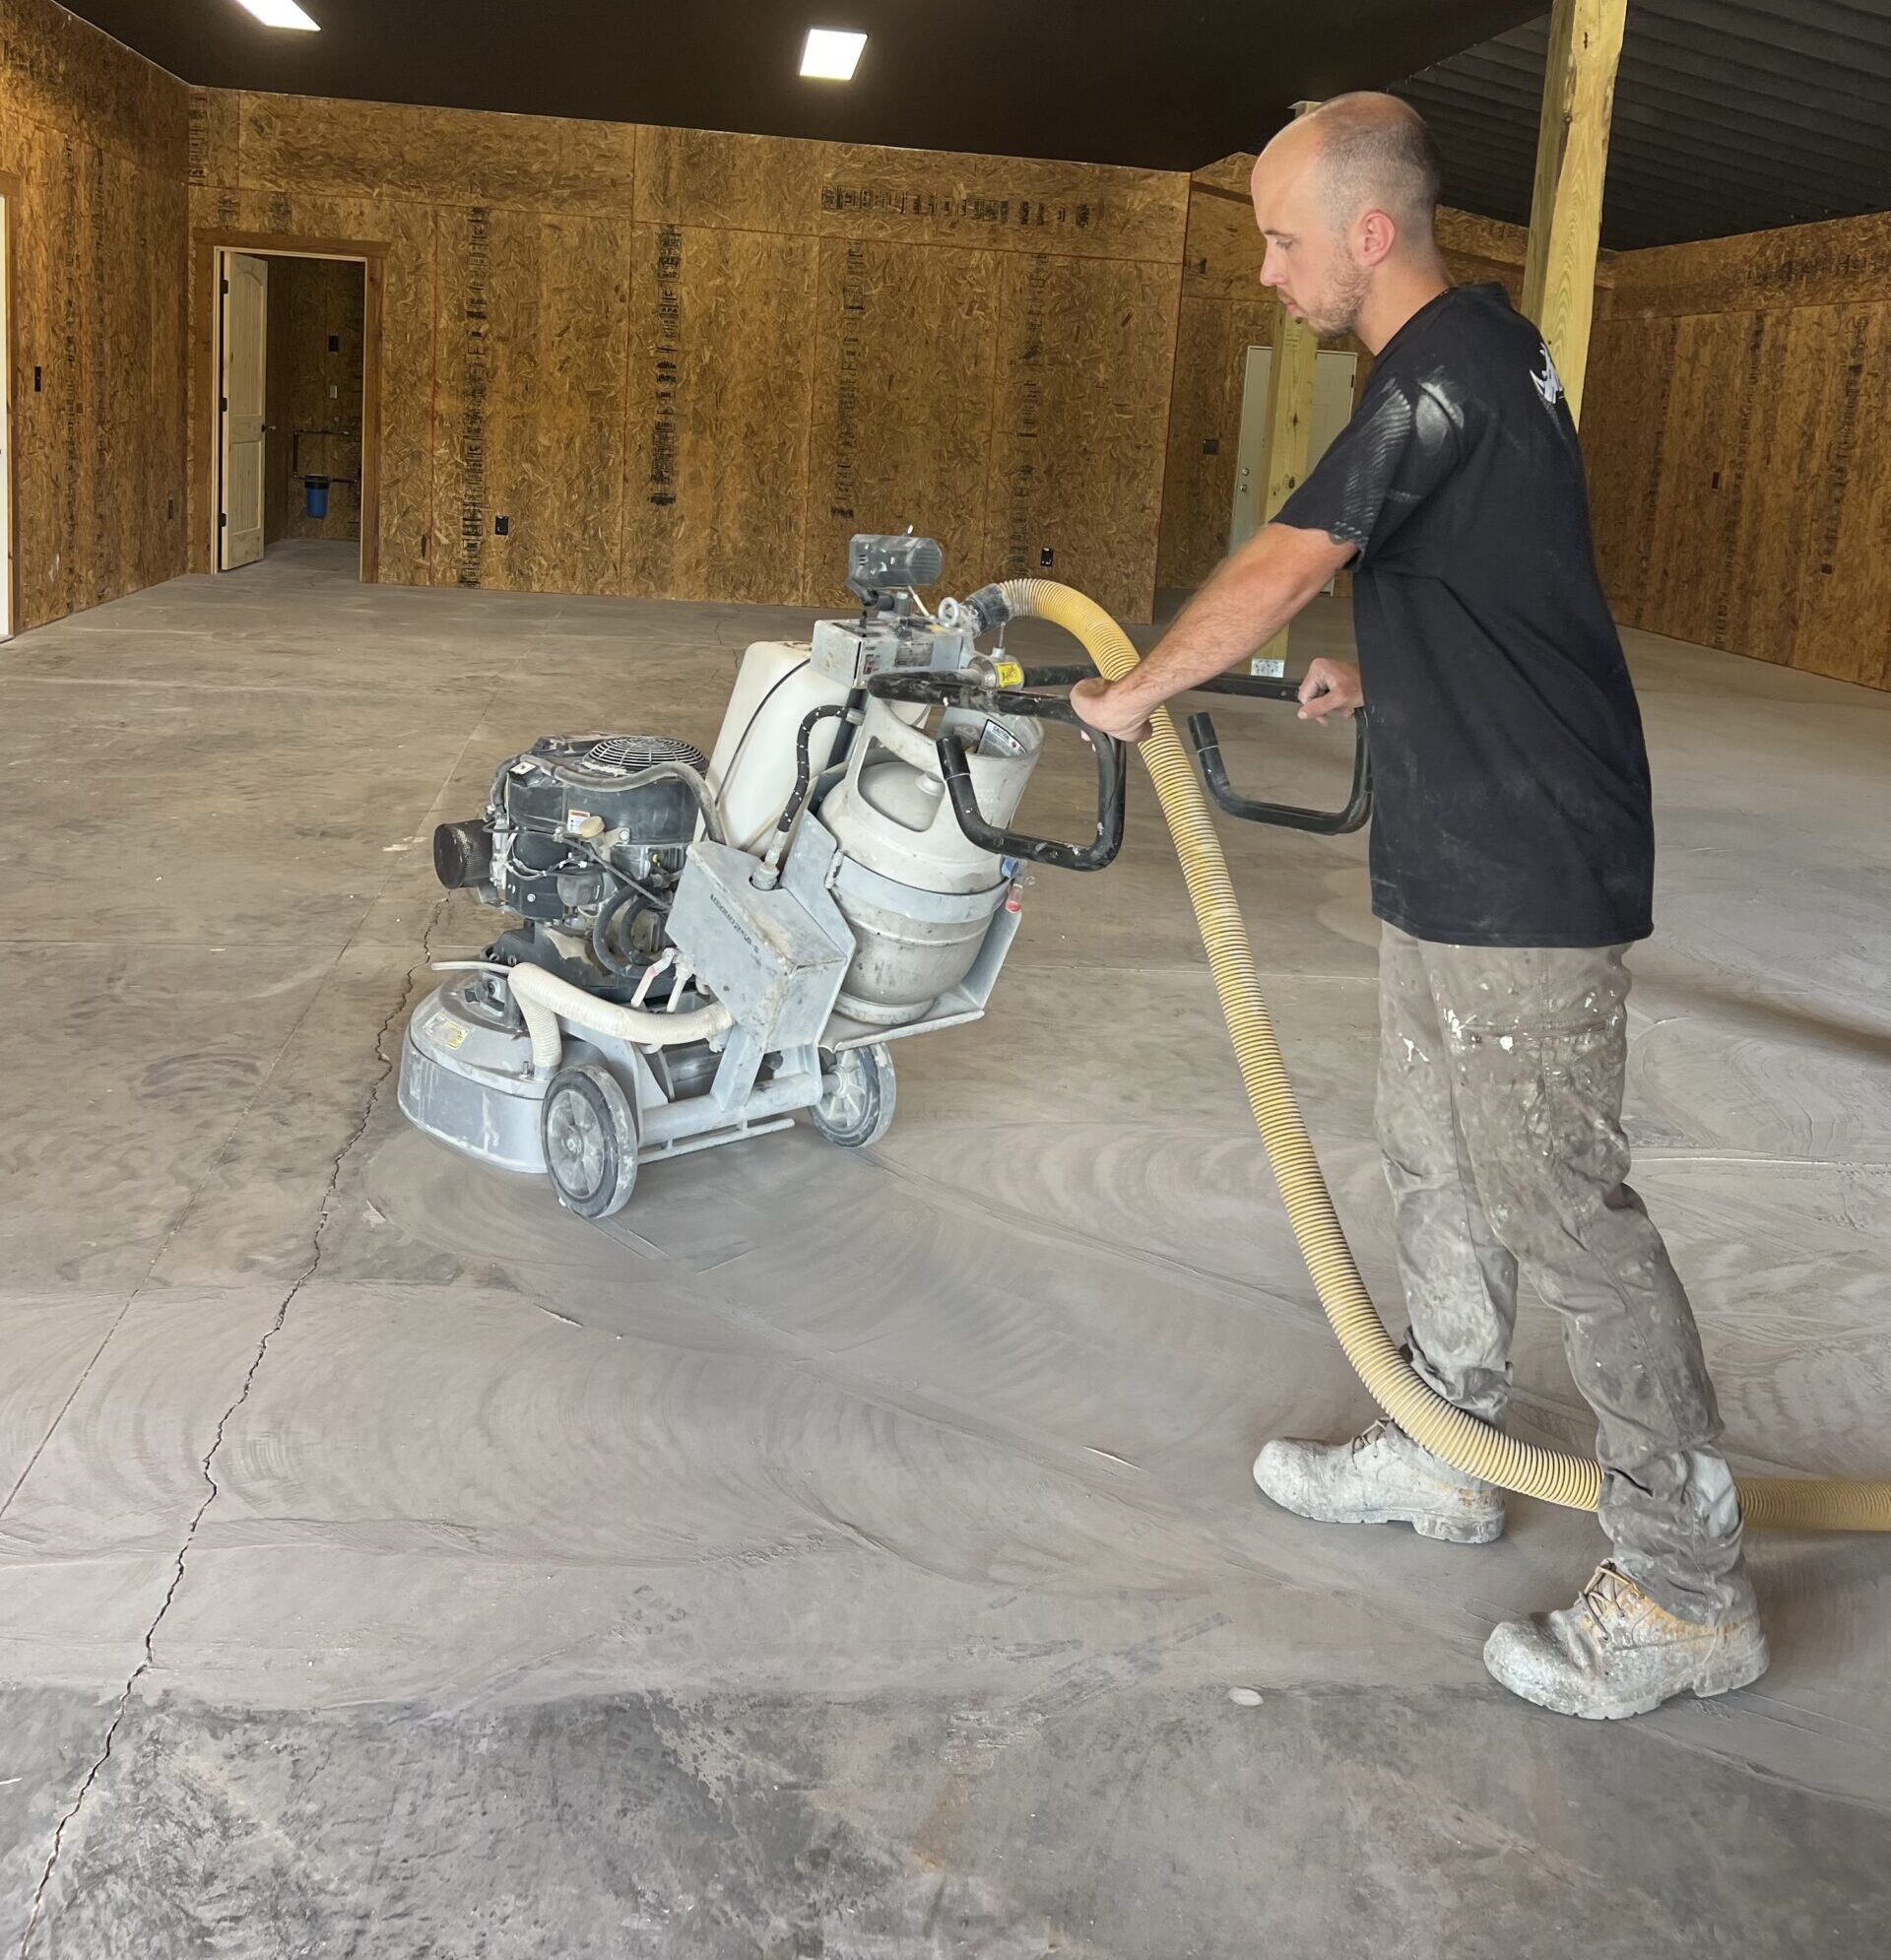
Preparation of the concrete substrate is often the most critical step when installing floor coating. We use commercial floor grinders affixed with diamond abrasive tooling on all concrete surfaces to effectively remove the top cream layer of concrete and to expose a porous and contaminant-free surface. We take necessary precautions to keep the dust to a minimum. Each of our technicians is experienced in evaluating and preparing the concrete floor to meet our rigorous standards.
We can also remove pre-existing coatings in this step such as epoxy, paint and other sealers.
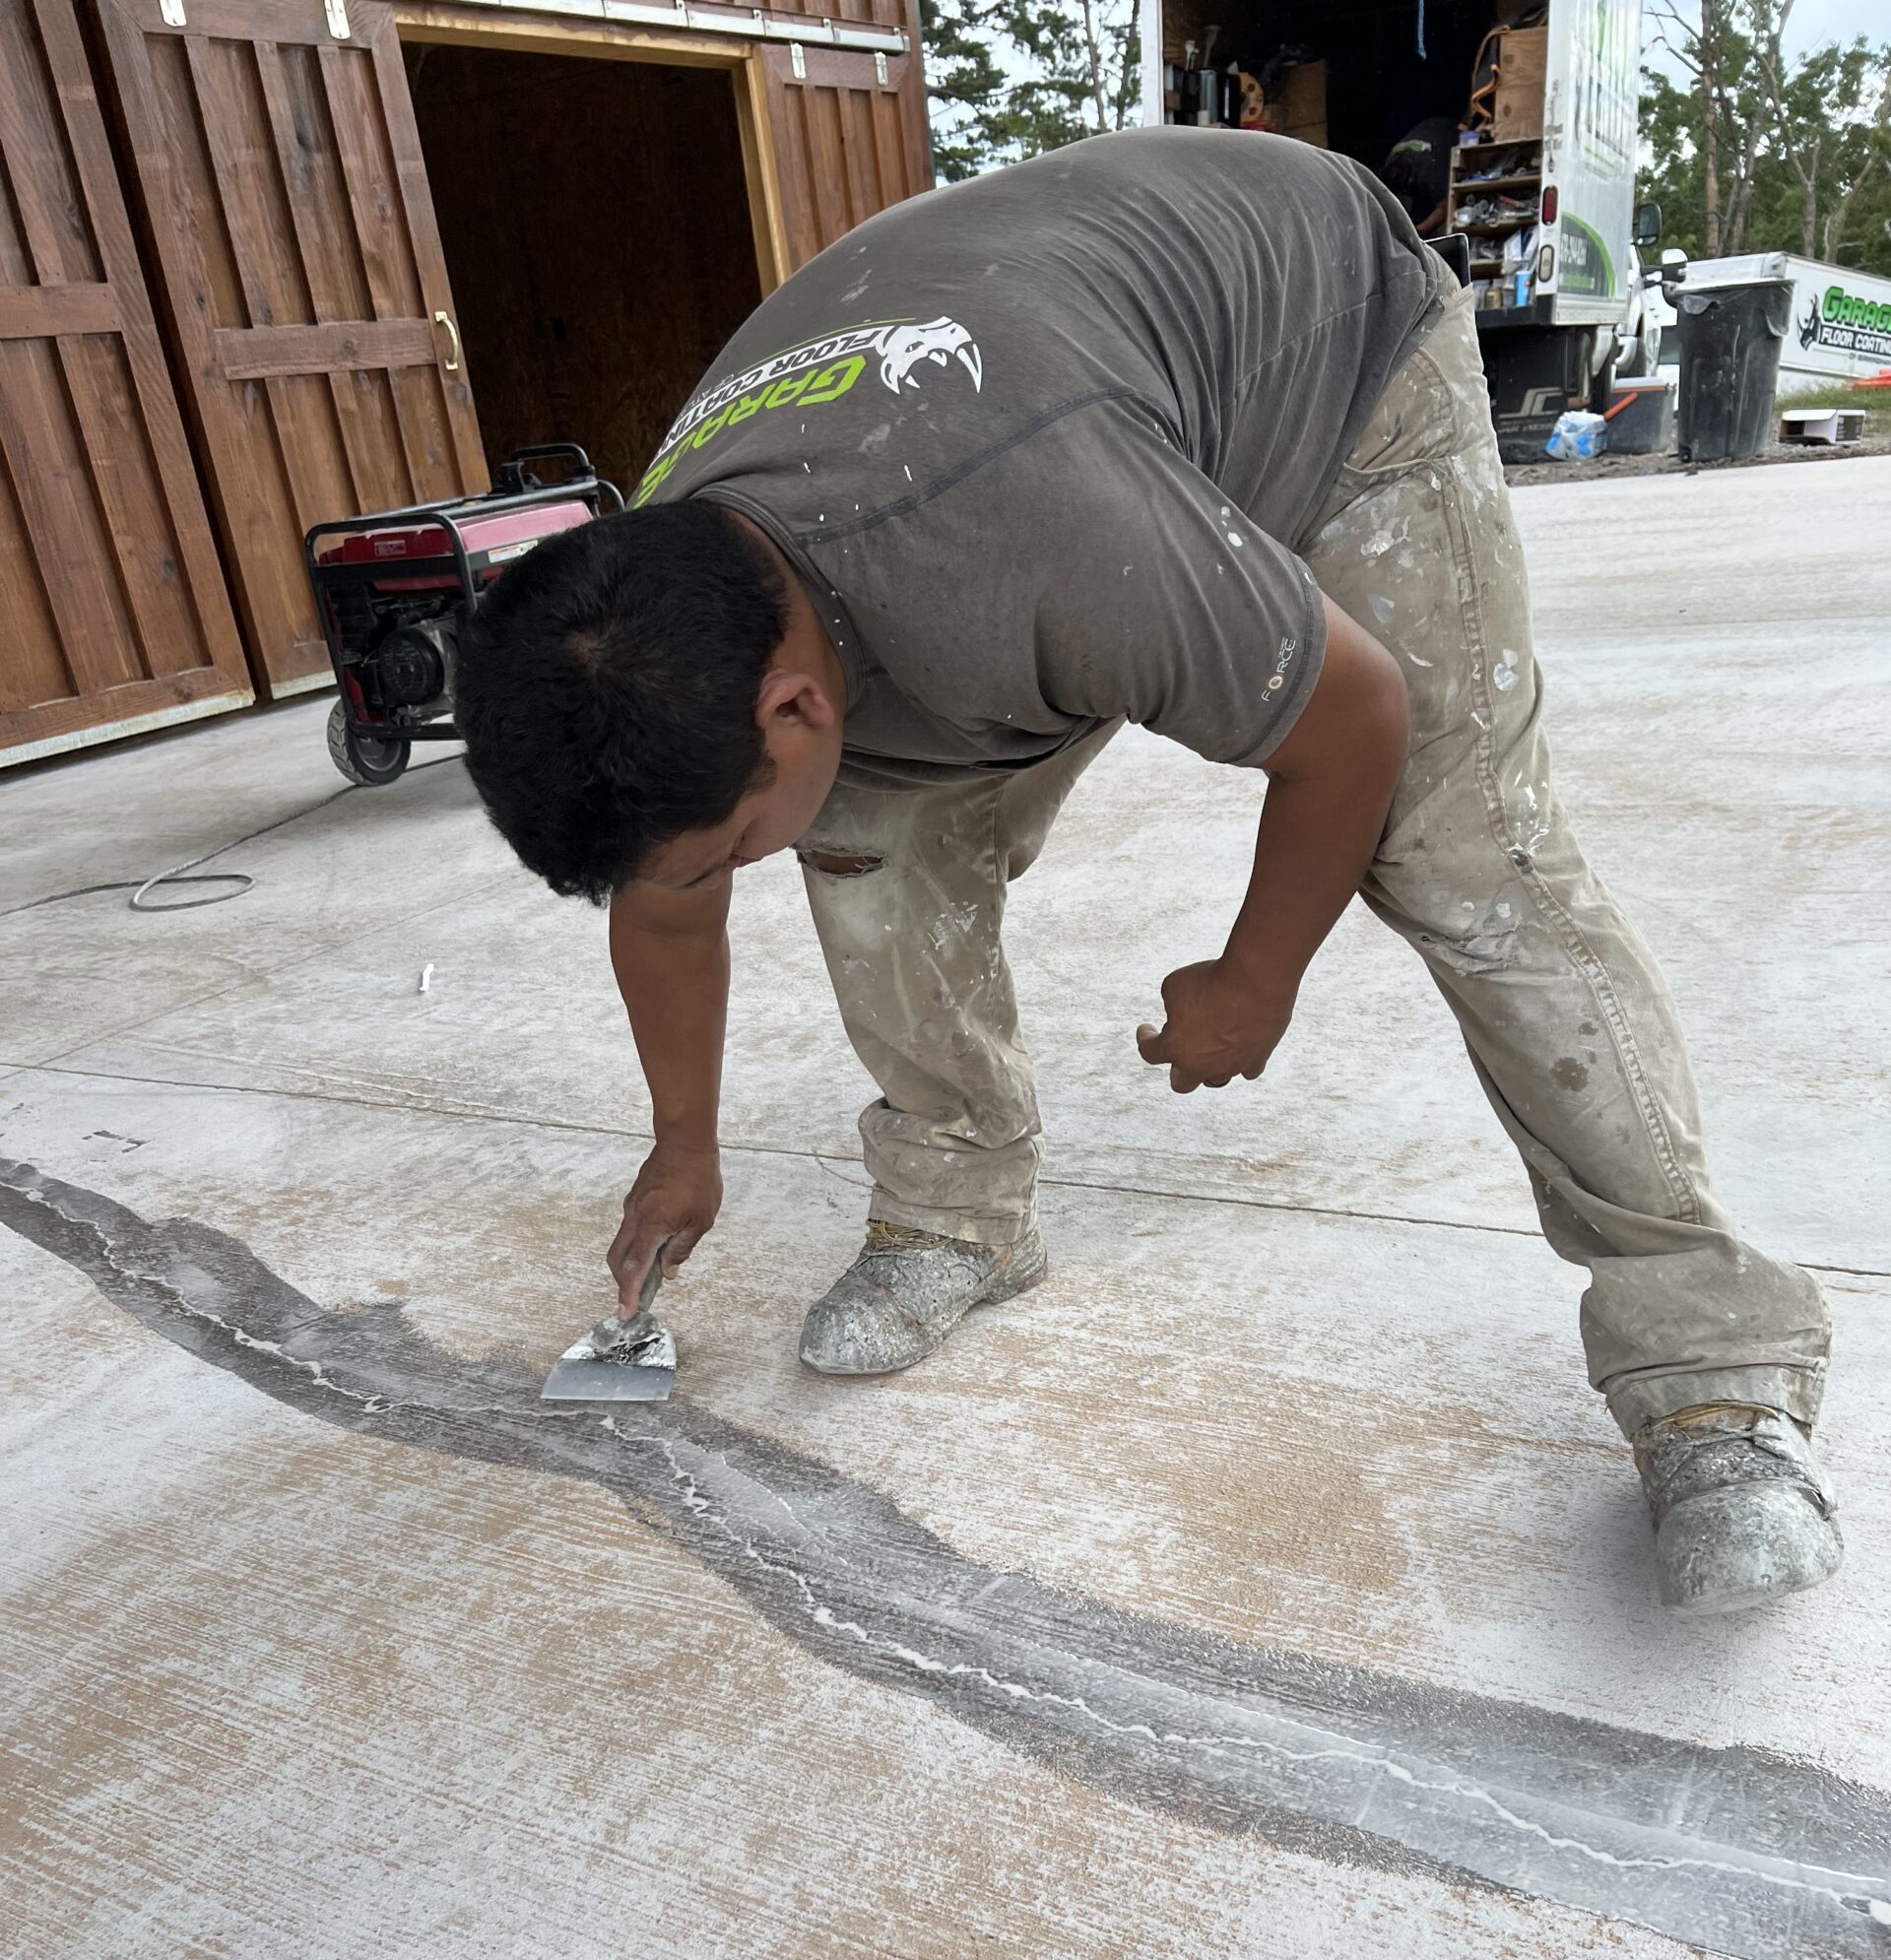
There are several different types of cracks that can appear in concrete after the original pour including expansion cracks, shrinkage cracks, and various settlement cracks. In addition, concrete spalling can occur due to erosion or moisture intrusion. Our experienced floor technicians will repair cracks, holes and other imperfections with an objective to make the floor as smooth and defect free as possible prior to our product installation.
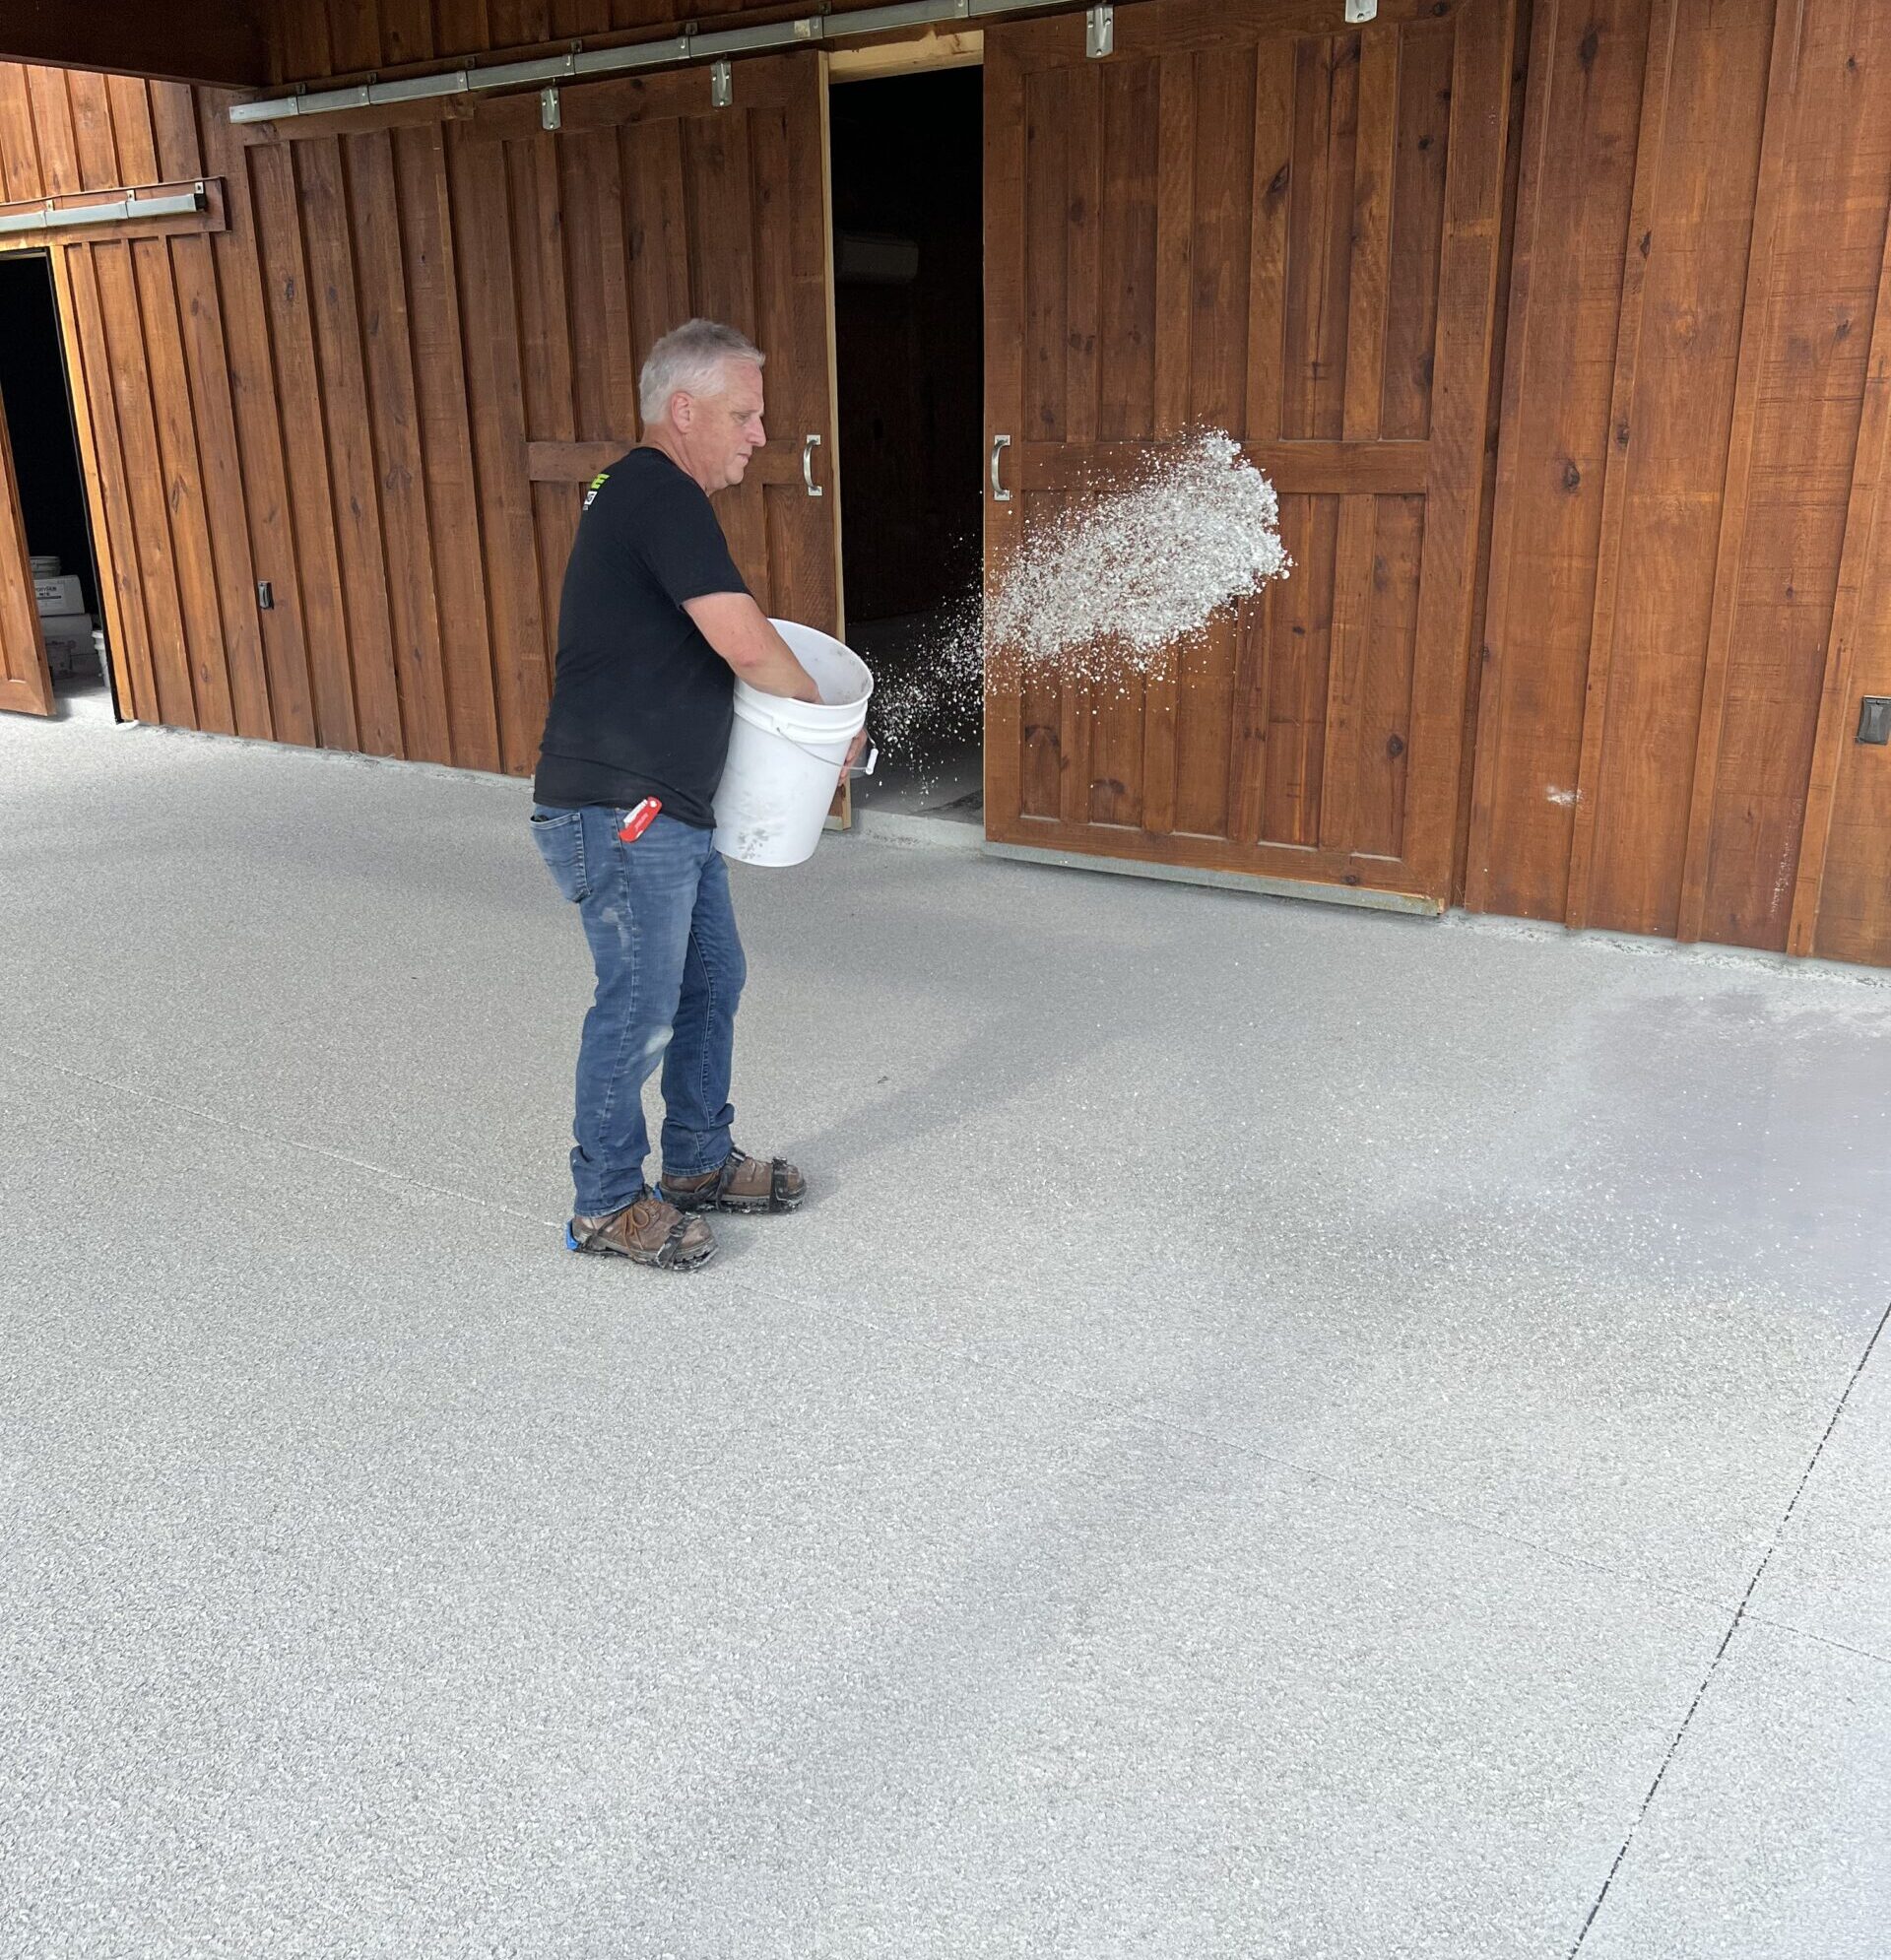
After the surface is fully prepped, repaired, and cleaned, we then roll out a thick application of our 100% solids polymer (epoxy) with large 18″ rollers making sure to allow the product to level as much as possible. This is immediately followed with the full broadcast of decorative color flakes to the point of rejection. The garage doors are lowered manually for the floor to cure overnight.
The next step in our process includes the reclaiming of excess flakes on the surface with a blower. Once the excess chips are collected and removed, the floor is scraped and/or buffed to achieve the desired amount of texture.
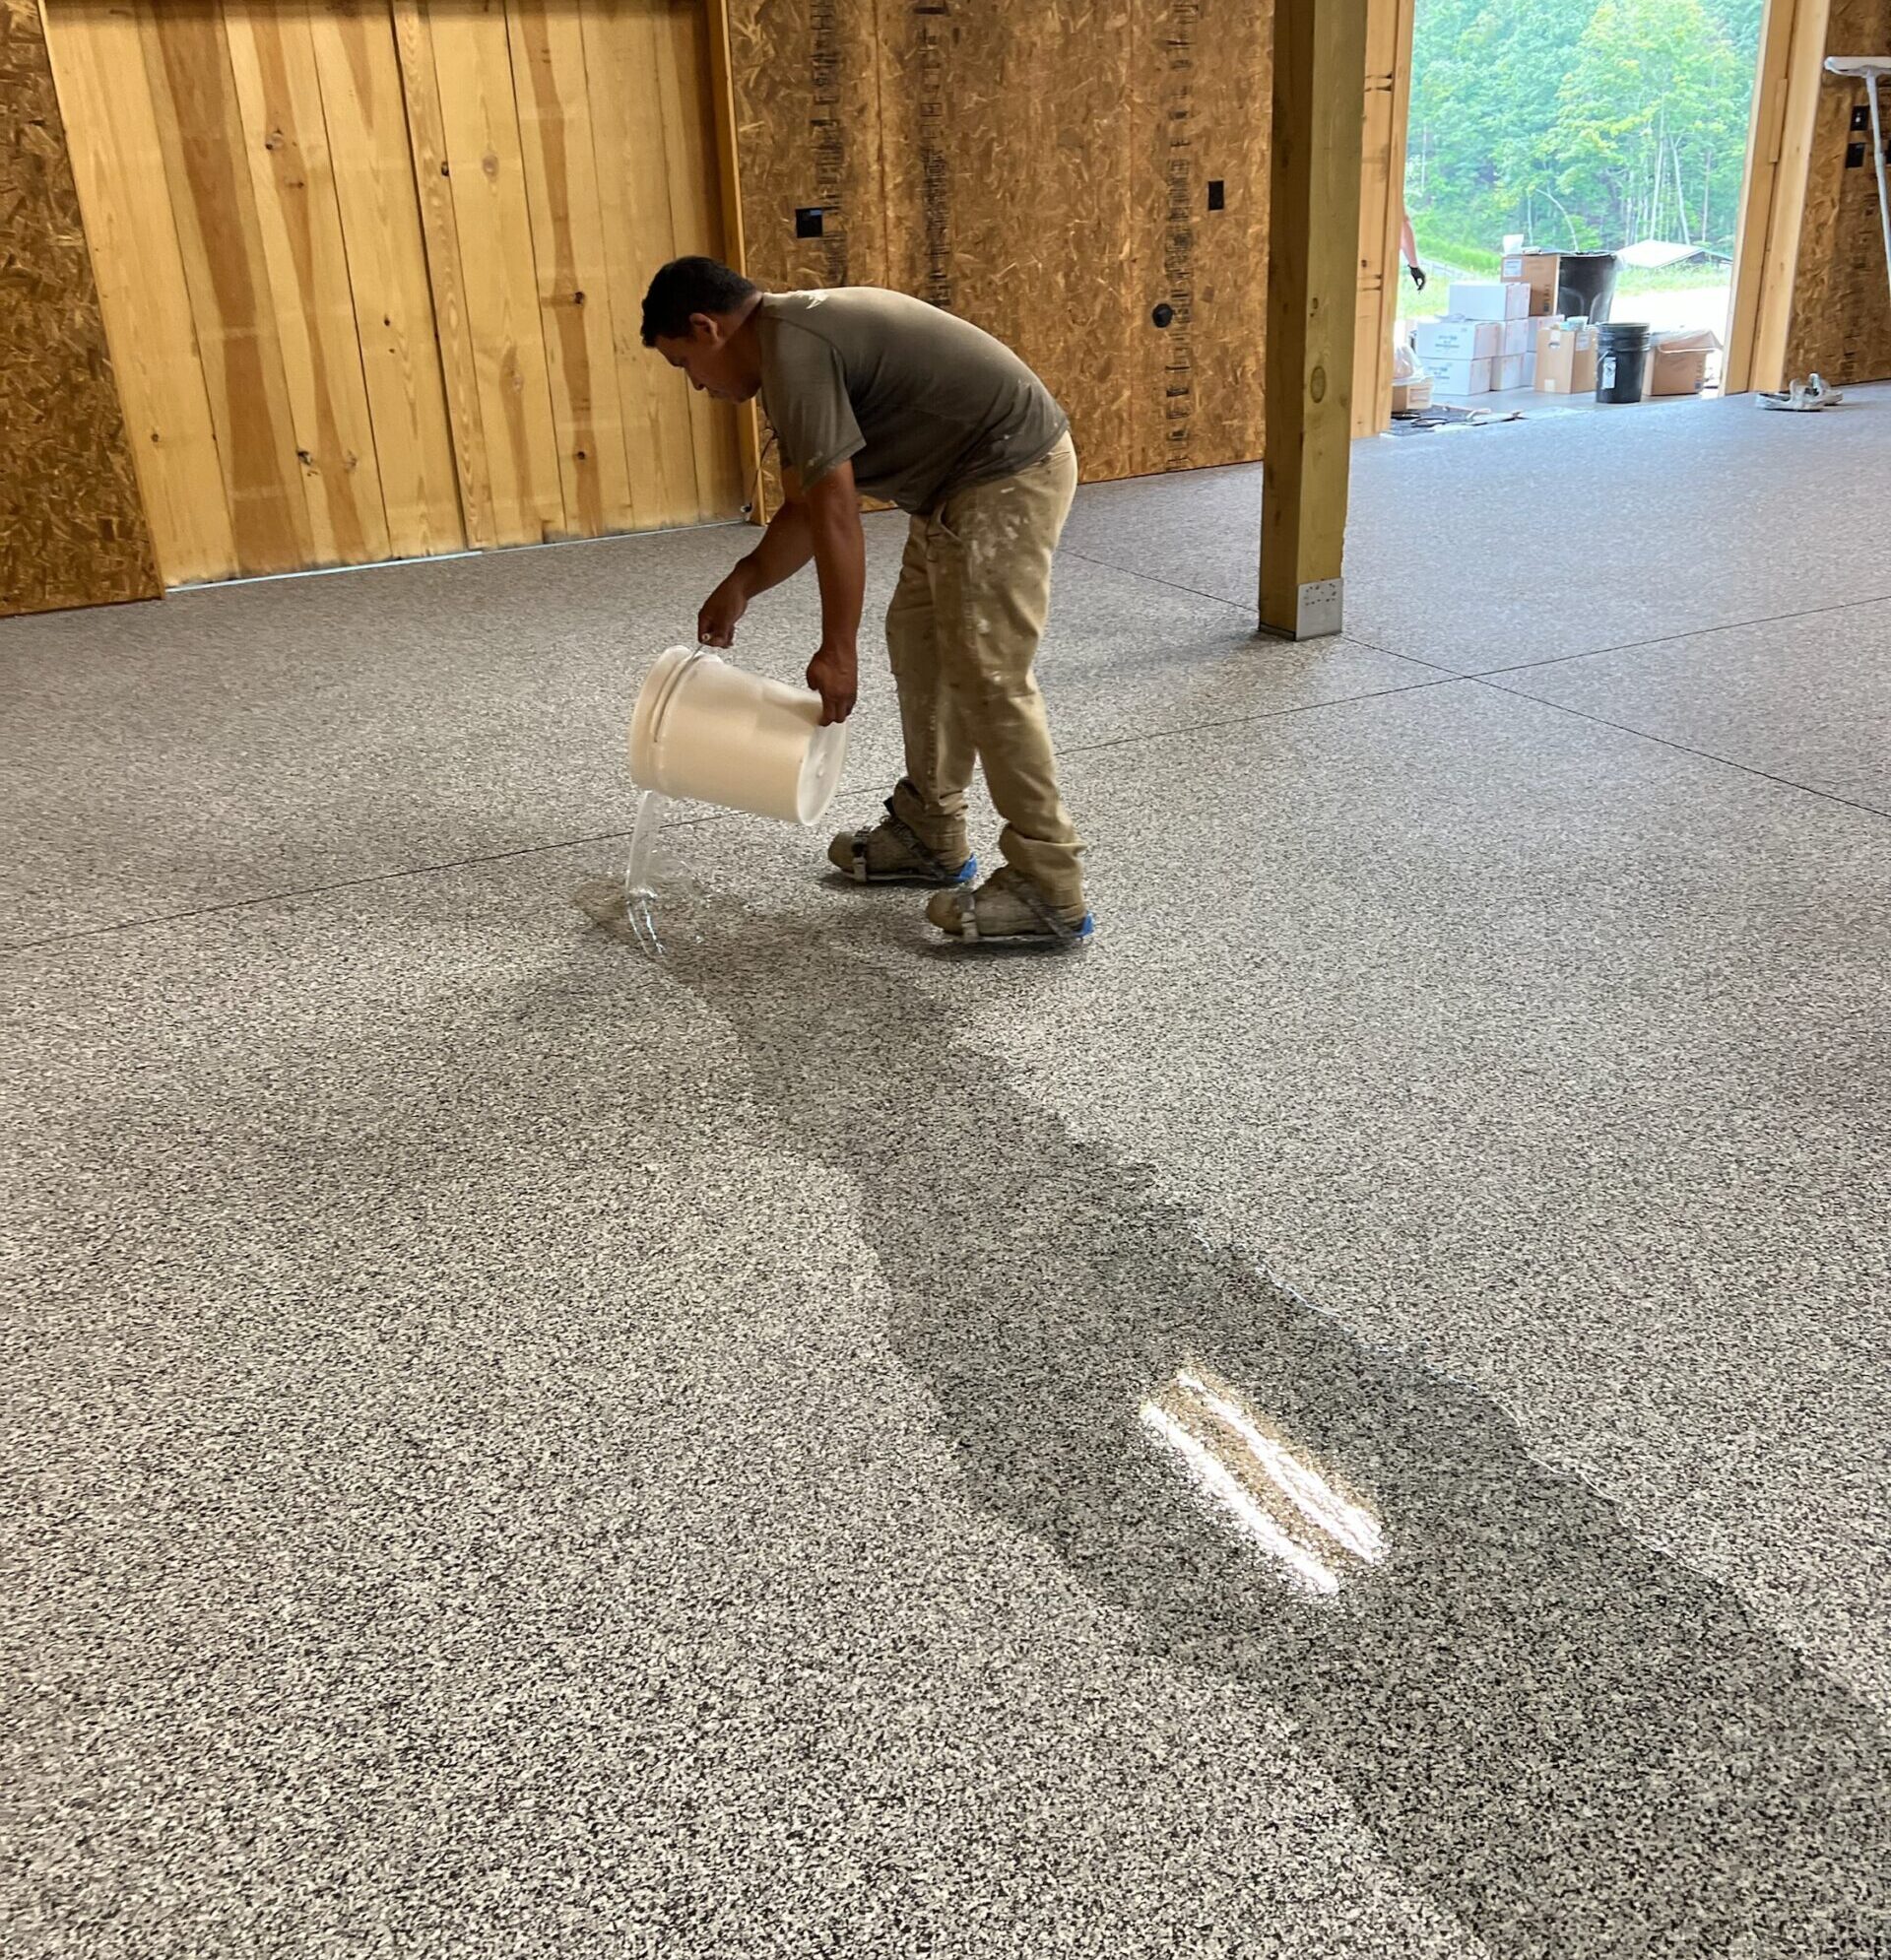
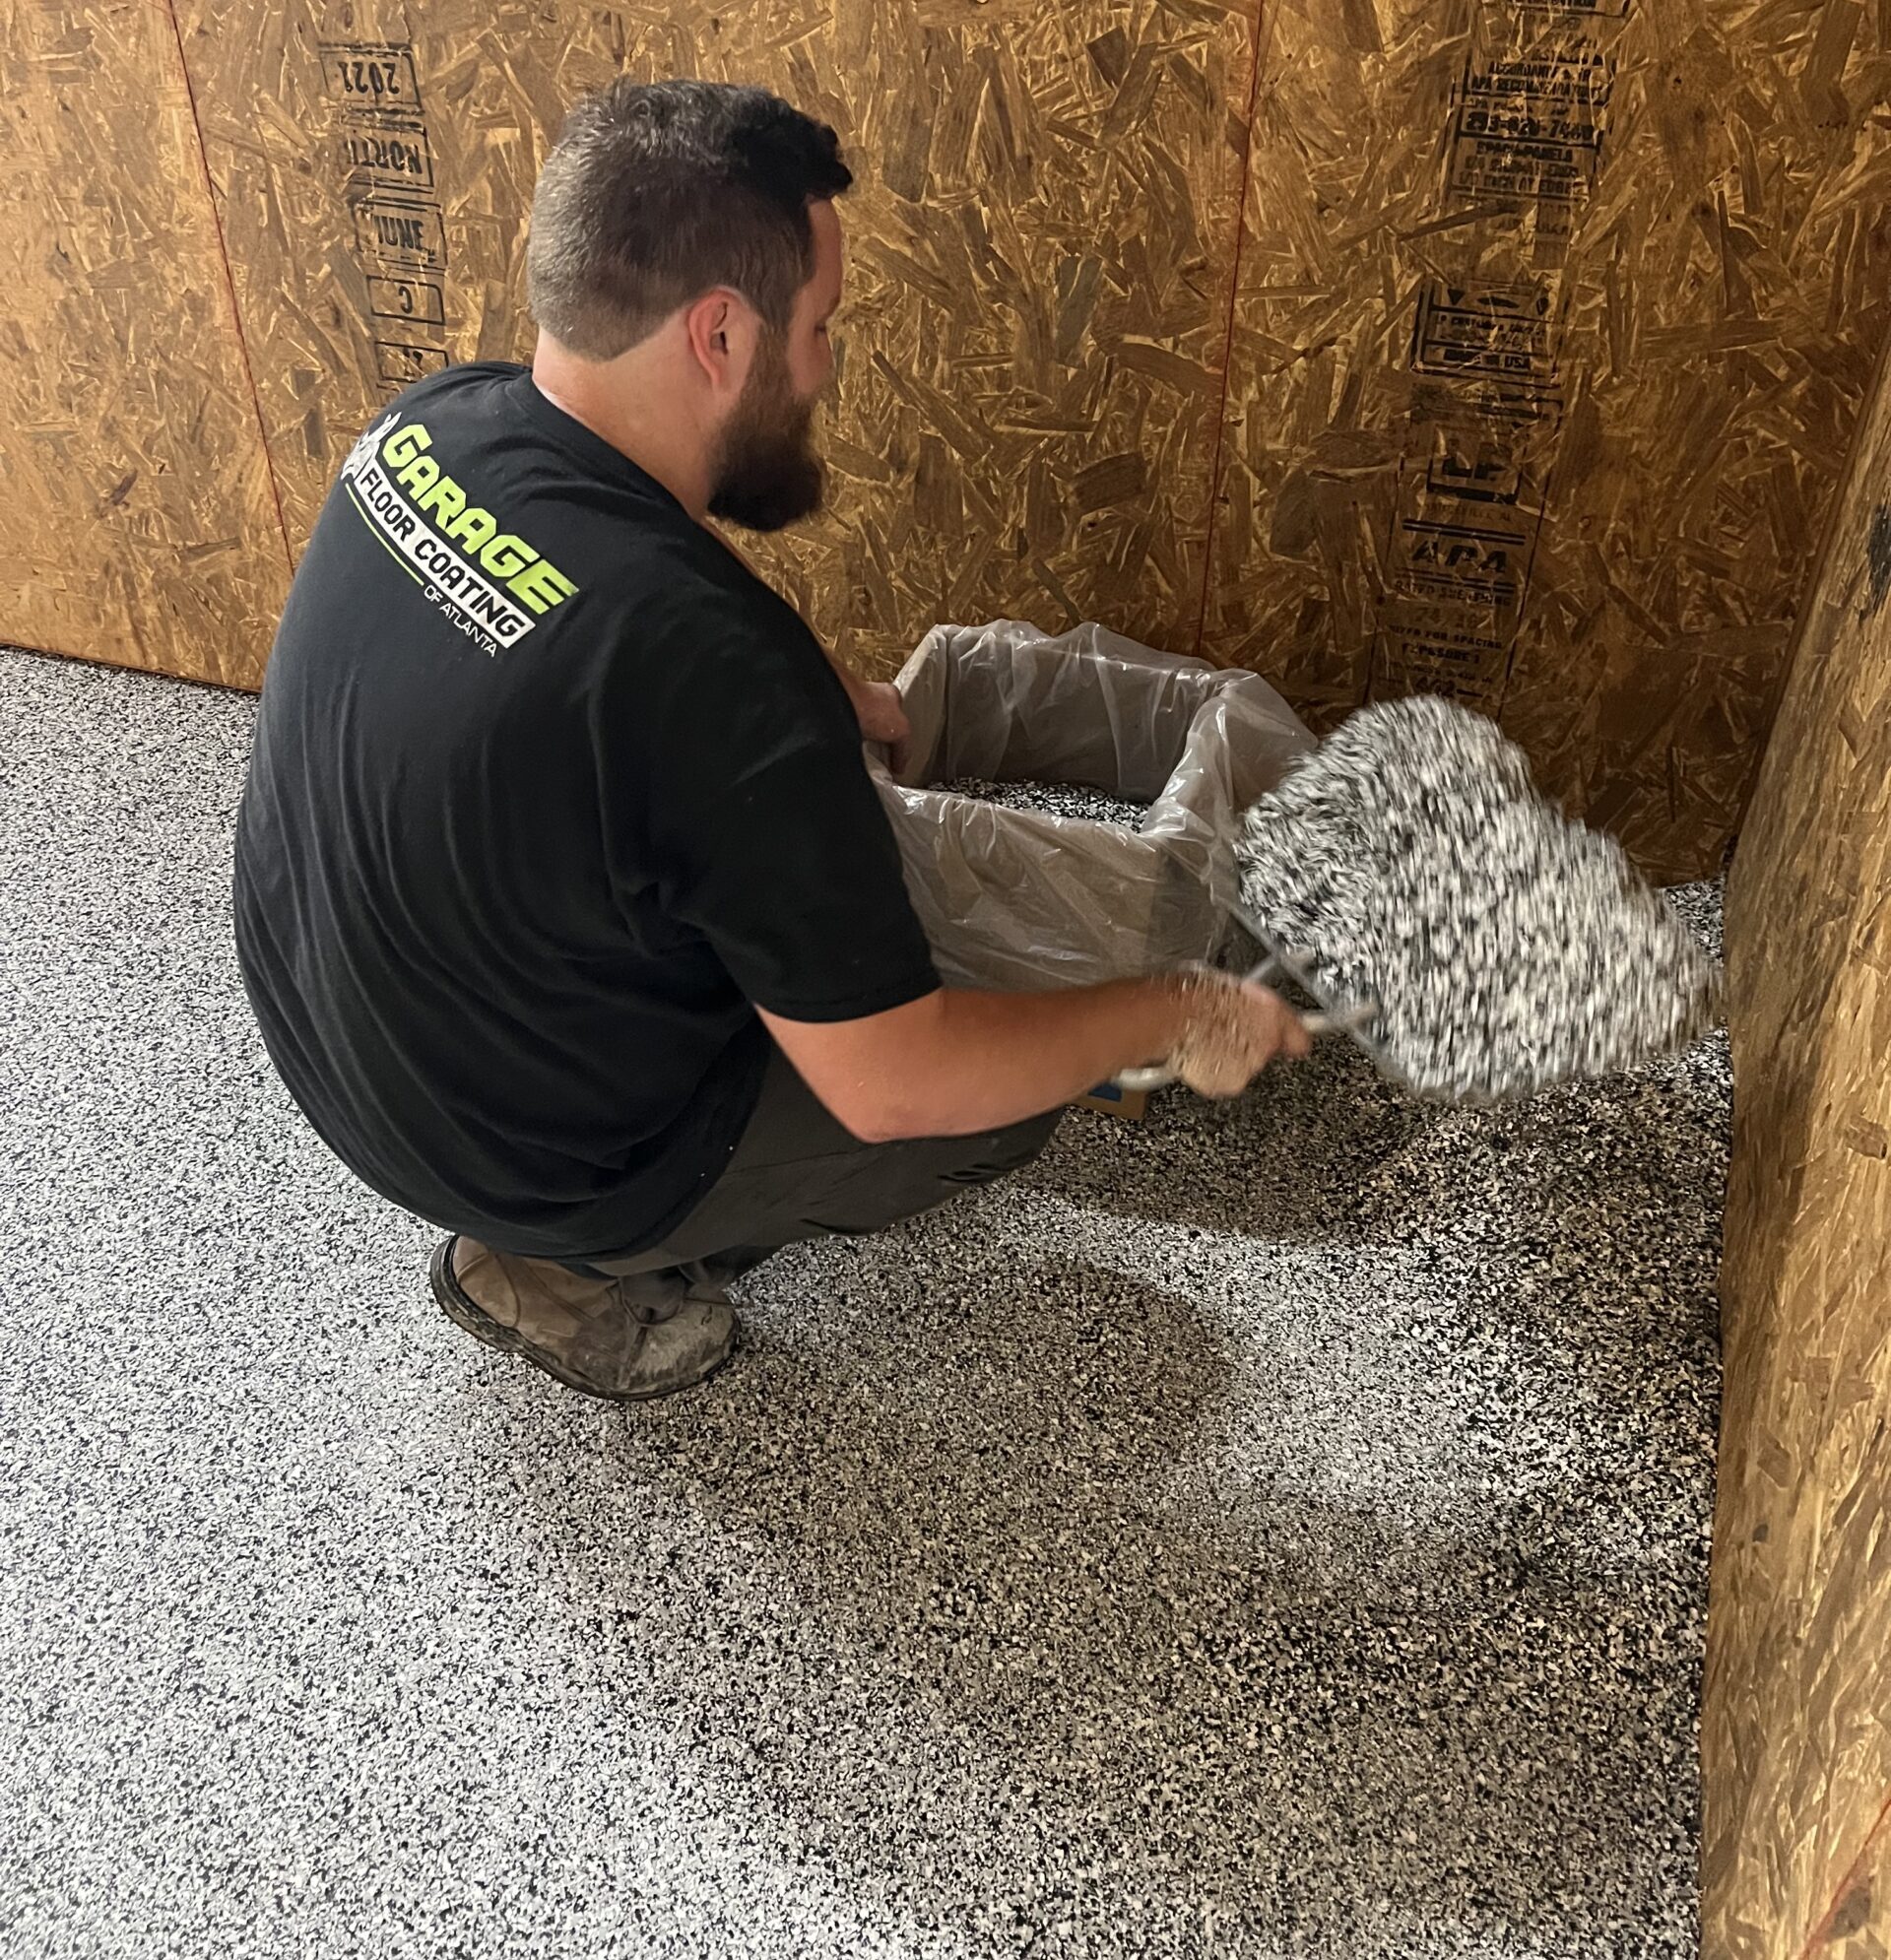
As a final step in the installation process, we apply our industrial grade polyaspartic clear coat. This product dries very rapidly and must be rolled with precision. We install the highest-quality poly clear coat available in sufficient quantities to ensure a uniform high gloss look that will stand up to the heavy weight of vehicle traffic, hot tires, etc. During this step, we can also add anti-skid aggregate to protect against slickness.
We take pride in your complete satisfaction and want to take this opportunity to remind you how to properly clean and maintain your new garage floor. By following these easy steps, you can be confident that your new garage floor will remain as beautiful as the day it was installed.
Reminder: the floor may be a bit slippery when wet, especially the first time the floor gets damp . Do not exceed recommended concentrations of solutions. Use caution when cleaning the floor.
We recommend also trying to keep the base of the garage door clean so that it does not leave dirt or grime when closed


© 2024 by Garage Floor Coating of Atlanta.